,
Ask any home cook or chef in Italy for her fresh pasta recipe, and the responses will be as varied and eclectic as individual fingerprints. Additionally, each region, village and family has its favorite pasta shape and method. If you wonder which one is the absolute best and most delicious, just ask the person kneading the dough. However, amidst the array, several things are standard. For egg pasta, blend flour, eggs, and sometimes olive oil. For eggless pasta, simply mix flour and water. That’s it.
The art comes in the kneading, mixing, shaping, sauce-pairing and most of all, with experience. Becoming skilled at making fresh pasta takes time and patience. Be kind to yourself and enjoy the process of playing with your food. Every time you will end up with a plateful of pasta, so everyone wins. During one of my pasta making classes, someone squealed with joy and said, “It’s like having fun with playdough!”
Making fresh dough is so worth the effort and a lovely way to spend an afternoon in preparation for a beautiful Sunday dinner with friends or family seated around a glorious bowl of your homemade pasta.
The foundation – the flour
Every strand or sheet of fresh pasta begins with a heap of flour on a board. Just as the entire universe is contained in one grain of sand, choosing the flour for fresh pasta can be vast and deceptively simple. My go-to is a combination of unbleached organic 00 (double zero) and durum wheat (semolina) flours. The double zero is a soft, fine wheat flour and the semolina is coarse, so together they make a tasty pasta with some tooth.
Every type of wheat begins as a berry (seed). The all-purpose flour we use most often is from generic wheat or a combination of various wheat berries. Another popular wheat is durum wheat (semolina) which is mostly grown in Italy and is used primarily to make dried pasta.
Unfortunately much of the flour sold in the United States is sprayed with pesticides, so I source my flour from a place I trust. Central Milling is an excellent choice. They have been around for 150 years and they know their flours. They sell organic flour grown and milled in the U.S. Additionally, I love to experiment with the flavor of the ancient grains like emmer, einkorn and spelt or the hearty flavors of rye, whole wheat and chestnut flours. Practice with the basic recipe until you feel comfortable and then branch out and play with alternative flours. Use a blend of three parts all purpose flour to one part alternative. If you want to learn more about the local grain economies in California, please visit California Grains. They do amazing work support non-commodized grains.
The Eggs and Olive Oil
Once we have chosen the flour(s), our next consideration is the eggs. Again, lots of room to geek out here. Whenever possible, I use eggs from chickens raised in a pasture, and I imagine the cute little creatures running around free and happy. Hens who eat a rich diet of bugs, grass, and greens produce eggs that are high in nutrition. Another perk — the bright orange yolks of some hen varieties add color to the pasta.
Lastly, but of utmost importance, the olive oil. Again, quality matters. The most nutritious and loaded with health benefits is the extra virgin olive oil (EVOO), meaning the olives have been picked and pressed right away. Price and quality vary tremendously even among EVOO. If possible, buy the freshest olive oil possible (this is a product that does not need to age). Most important, your taste buds are the best judge. Taste and sample a few brands until you find one that pleases your palate.
Making Fresh Egg Pasta
Ingredients:
– 1 ½ cups double zero or all purpose flour
– 2 Tablespoons durum wheat semolina flour (plus some for dusting)
– 2 large eggs
– 2 Tablespoons olive oil
– 2 pinches sea salt
Directions:
Now that we have the basic ingredients, let’s get started. Measure and dump the flours and salt in the center of a large wooden board. With your fingers, create a well in the center. It should look like a caldera. Crack two eggs into the center and stir with a fork. Add olive oil.

As you are gently beating the eggs, use the fork to gradually scoop the flour into the center from the innermost part of the well. As you continue to incorporate the flour, the dough will get thicker and thicker. Once you have mixed in most of the flour and there is no danger of the egg escaping over the wood board, use your bench cutter to scoop up everything into one pile. Bring the rest of the flour into the center, scrap it all together with the bench cutter into a big shaggy pile. Begin to use your hands like a big scoop and bring it all together. Begin to knead and mix with your hands. The flour will be absorbed eventually, keep working it. Now it is a cohesive ball of dough and ready to knead.

Kneading the dough
If the dough is a bit sticky, put a very small amount of flour on the board. Place two hands stacked one on top of the other- in the middle of the ball of dough and press forward with the heal of one hand to stretch the dough away from you. Then, rotate the dough one-quarter turn clockwise, fold the top down toward you, then push away with the heels of your stacked hands again. Repeat the process: Press away, rotate one-quarter turn, fold the top down and so forth. Knead like this for 10 minutes. Through the kneading process, you will see the dough go through a transformation. At first, it will be stiff and shaggy looking, but as you knead, the dough will become more elastic and smooth, sort of bouncy to the touch. When you press your finger into it, the dough will bounce back. You will notice the change in consistency as the gluten grains begin to line up and the flour becomes fully hydrated. After 10 minutes, wrap the dough in plastic wrap and set aside for 30 minutes.

Stretching the dough with the pasta machine
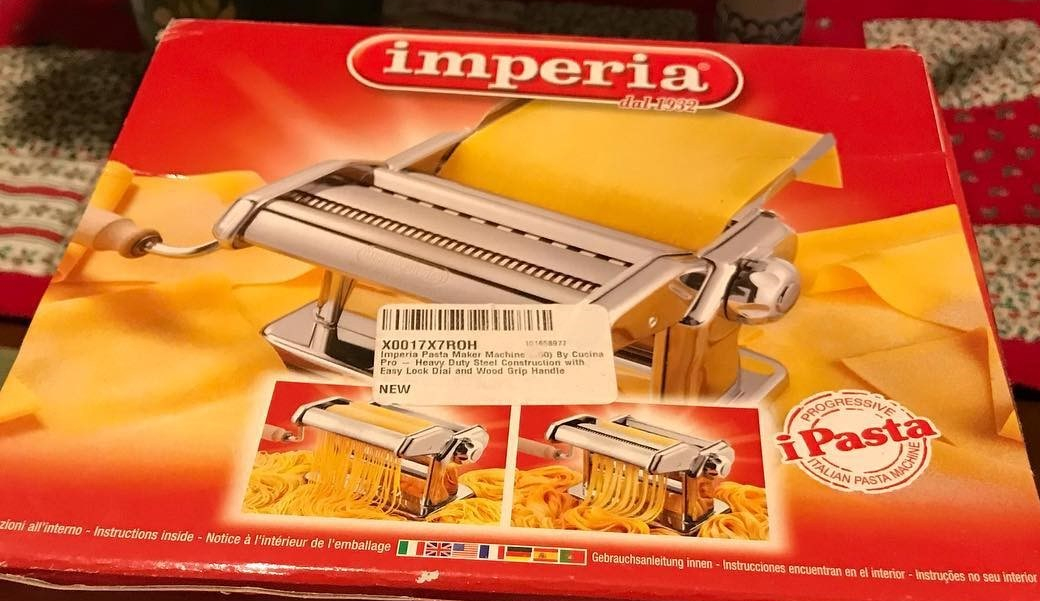
I like the Imperia brand because it is sturdy and well made. However, it is hand cranked, so it is a bit more of a workout. The Kitchen Aid mixer has a pasta attachment which makes stretching as easy a pressing a button. Both Imperia and Kitchen Aid sell attachments for making a wide variety of noodle shapes such as spaghetti or tagliatelle.
Unwrap the ball of dough and cut in half with your bench cutter. Re-wrap one half so it won’t dry out while stretching the first half. Scatter a bit of semolina across the board. Semolina is better that 00 flour for dusting because it will not be absorbed into dough. Set the pasta machine on the widest setting where the rollers are farthest apart. Form the ball into a little rectangle, turn the handle and begin to pass the dough through the machine, catching the sheet with the other hand as it comes out of the machine. 
Fold it in half lengthwise and dust with a bit of semolina. It’s important to dust the dough because you don’t want the dough to stick to the pasta machine rollers. Crank with one hand, pull the dough with the other hand as it comes out of the machine. Fold the pasta sheet in half and roll it through the machine again at this setting. Repeat this process of stretching, folding and rolling on the widest setting. Do this 4 times.
Now, set rollers to the next setting, dust dough, stretch it through machine with the same process. As you continue to set the machine one at a time, one notch at a time, notice the space between the rollers gets thinner and thinner. This is how we are stretching and thinning out the dough. After the third time reducing the rollers and thinning the dough, the sheet of dough might be getting long and not as easy to manage, so cut it half with the bench cutter, giving two pieces that are easier to manage. Continue to dust, roll the pasta sheet through and then move to the next smallest setting. Stop at the second to last setting. I rarely use the thinnest setting because the dough is very thin and difficult to work with.
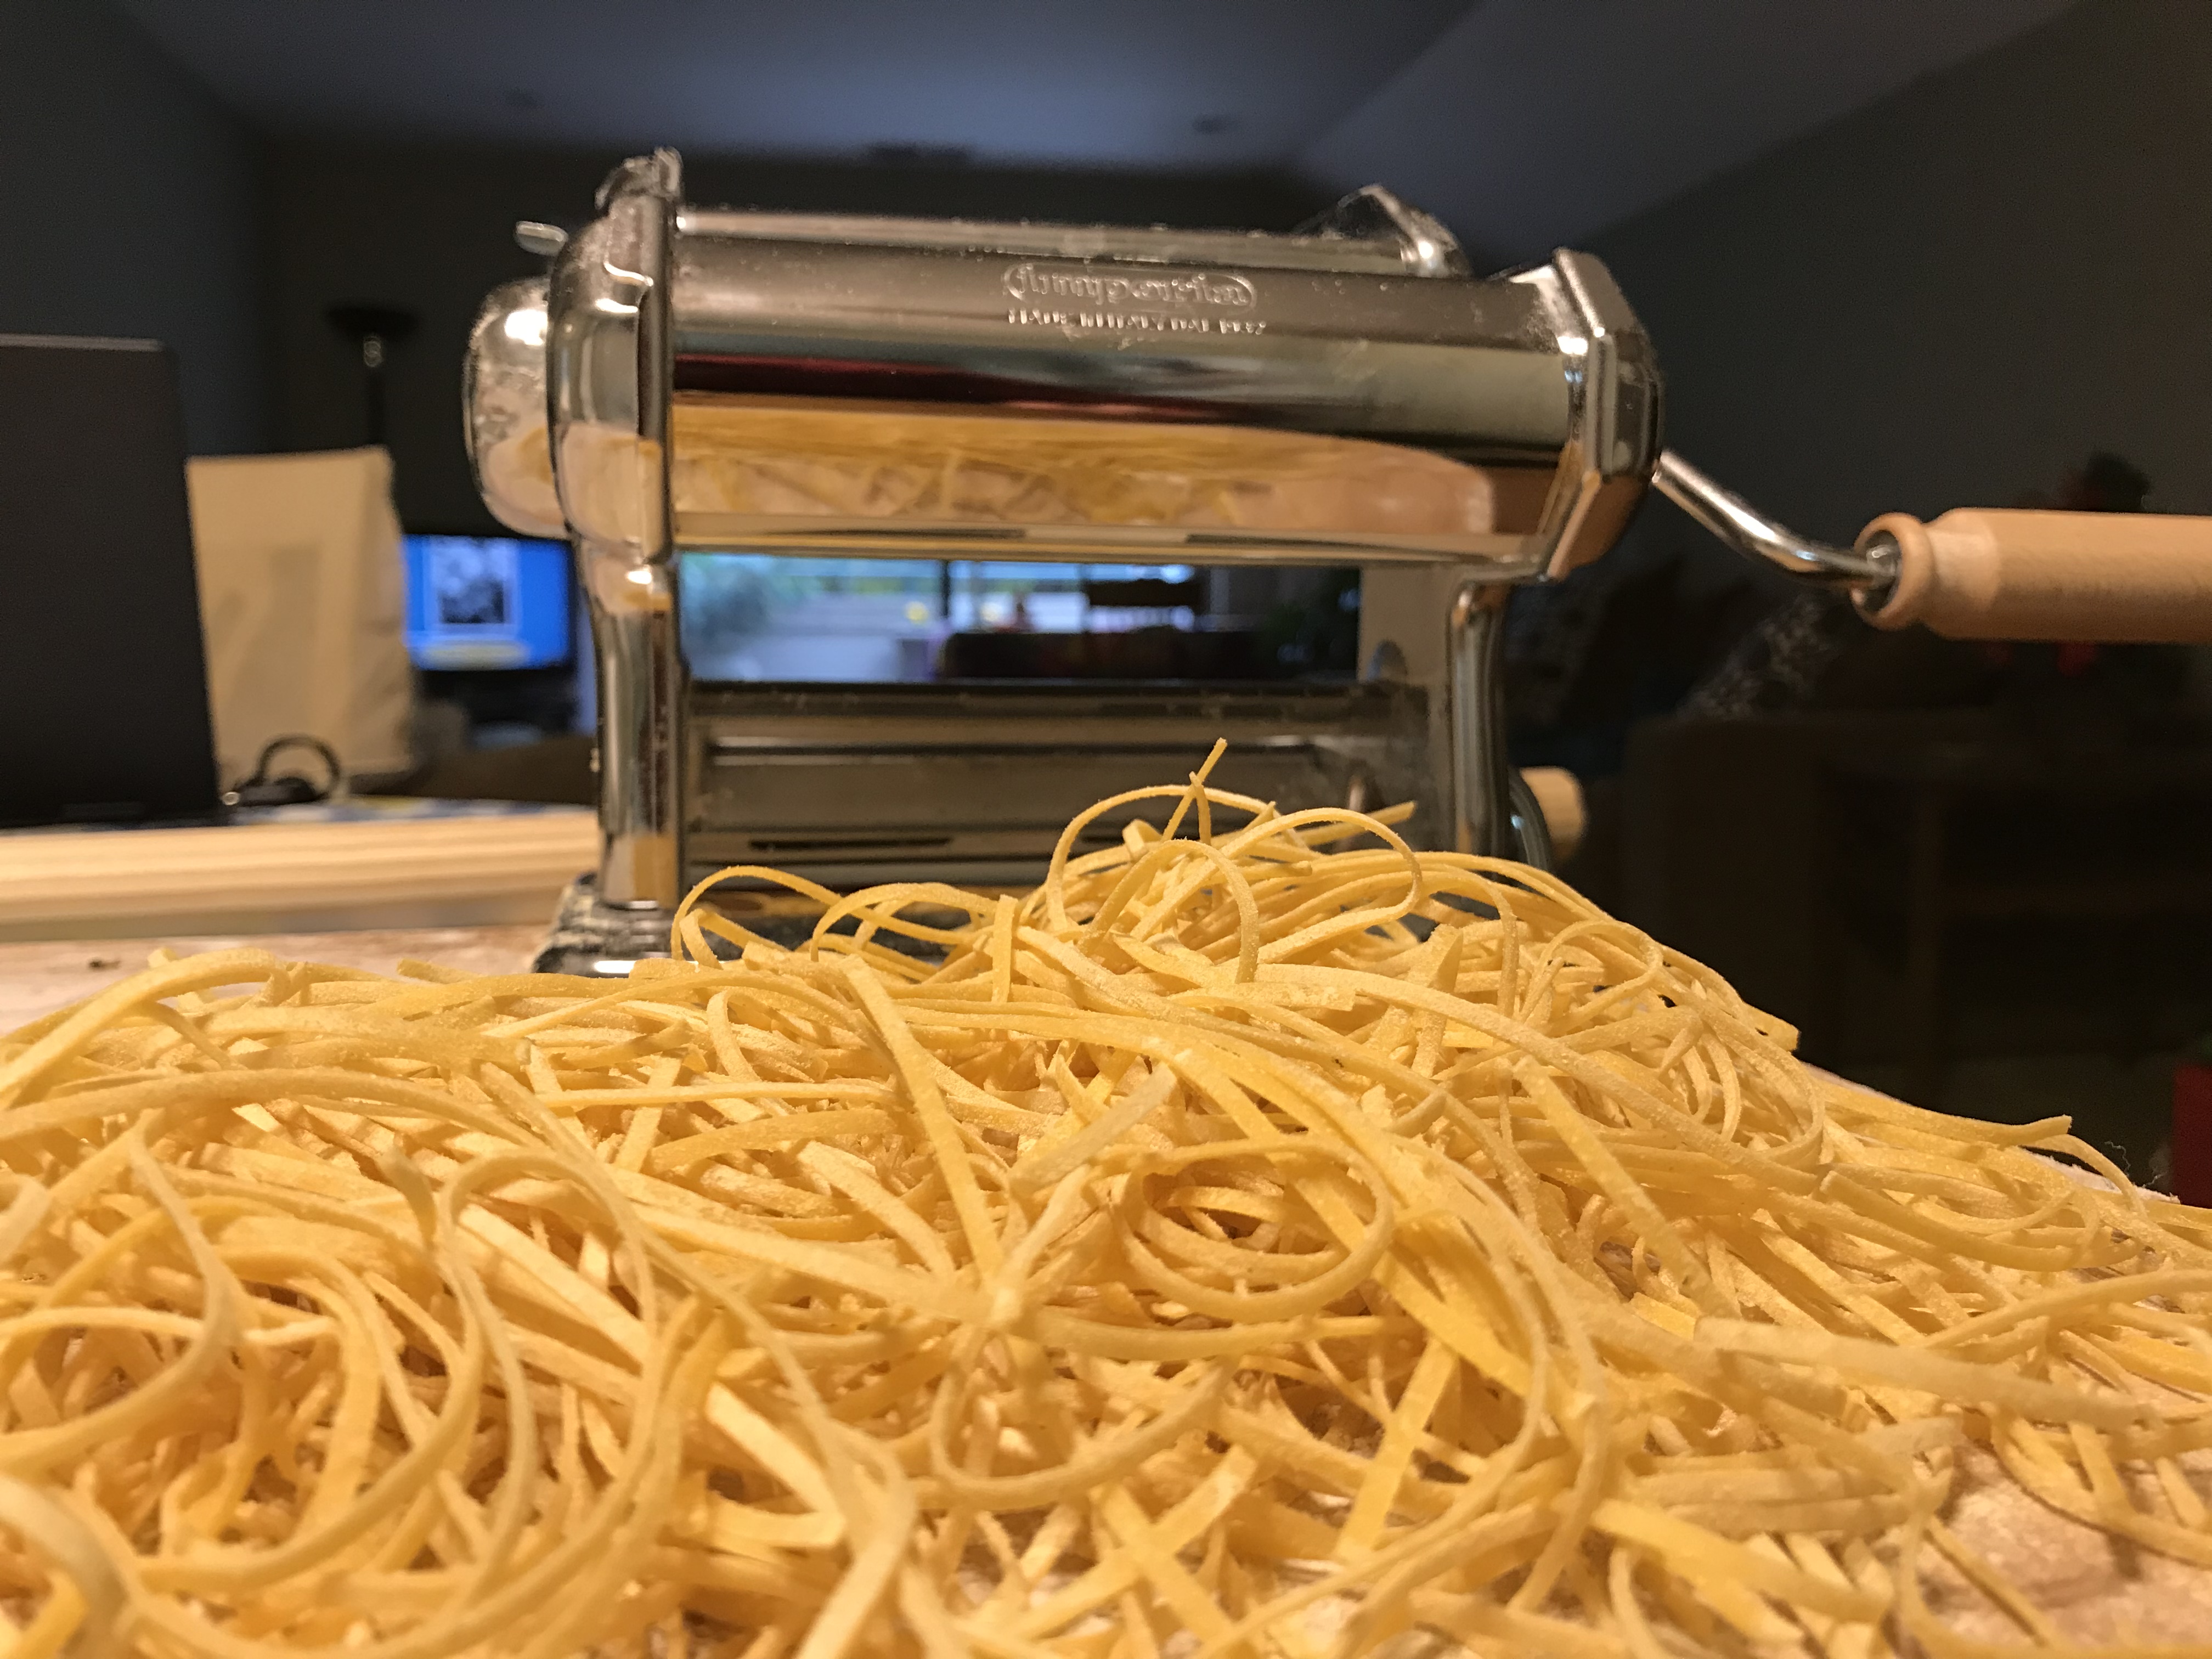
The Imperia or Kitchen Aid pasta machines come with a special attachment for making fettuccine or vermicelli noodles or leave the pasta in sheets to make ravioli or lasagne.
If you want to hand cut the pasta yourself, watch the video below.
Now you are ready to use the fresh pasta for the recipe of your choice! Be proud of your accomplishment!
If you want to roll the dough by hand, watch here! Steps for making fettuccine.
Try these fresh pasta dishes for practice:
Light Vegetable Lasagna
Tagliatelle
Butternut Squash Ravioli – 3 ways
So many variables!
There are so many variables! Is it humid or is it a hot, dry day? Even though eggs are labeled as large, there can be a slight variation in their size. All of these factors affect the consistency of the pasta dough. Be patient and remember that with each batch of pasta, you will learn and begin to get a feel for the process. Soon, you will be a master pasta nonna; you won’t even have to measure!
The art of making pasta is not rocket science, but it does take a some practice. Be easy on yourself. I had to make every mistake in the book, but I am beginning to feel more confident with the process. Hang in there, keep practicing. It is so worth it!!
I’m the lucky guy who got to try all this homemade pasta . . Yum!
I love the little pasta rolling/stretching video!
Hello Mr. Goodman,
Isn’t it fun! Thank you so much for your loyal support and wonderful comments.
Amazing how you roll out that dough on the video. I like the image of pasta drying on the backs of chairs. I think it’s important that we do some cooking our ancestors did.
Hi Jan,
I agree. It feels right to look into cooking techniques and traditional recipes from our ancestors. Thanks so much for you comments.